Ever since watching Billy Dillard’s laser system in late 2021 on worldwidewoodturners.org I’ve wanted a laser system just to sign my wood projects. I’ve been searching for basically 3 things.
- relatively inexpensive
- small foot print
- easy to use software (very short learning curve)
After seeing the LaserPecker software on a friends phone, I bought a LaserPecker, LP1 Pro from Amazon for $259 (At 500mw (1/2 watt), it is not made to engrave metal, glass or plastic).
The new LP1 Pro, with the “280” firmware, is able to use the “LaserPecker Design Space” software. No matter which LP software you use, you will need to download it to your phone and is very easy to create text to write your name with a very short learning curve.
The following is for the LDS software.
- Open the software and connect to the unit
- Click on the “create” button
- Click on the “text” button and start typing. You can even create multiple lines of text by pressing the enter key and type again.
- When you are through entering your text, click on
the “check mark” at the top of the open window. - Now you can use the bottom right corner button to increase the width of the line of text. The height is automatic. Or you can also set the width by clicking on the width button (on the same row of option with fonts, curve, etc.)
- There is also a line of options closer to the bottom to modify the text (fonts, style, align rows, curve, etc.
- If you like the text, click on “Preview” at the top of the window. After a few reminders you can align the preview window on your project.
- When you are ready to burn it, click on “next” and “send file”
- You can keep the default settings or change them. One of the options on this page is the material you are burning.
- Click on “Start” and after a few reminders it will begin burning.
After I had burned my name in several projects I 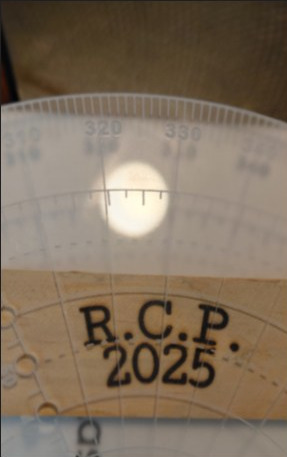 ventured out to find other options in this software. The next option I explored was “curve” (on the same row of option with fonts).
This feature will let you curve the text at a desired radius. It will curve up, down or in a complete circle. Great for bowl bottoms and logos. The problem I had was guessing the size of the curve. This setting is numerical. It just happens to be in degrees (they don’t tell you) from “0” being a straight line to “360” being a complete circle.
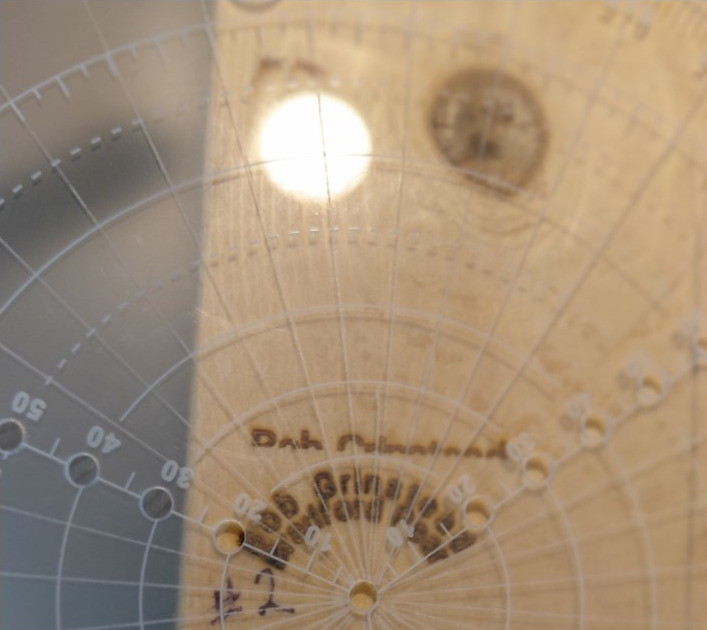
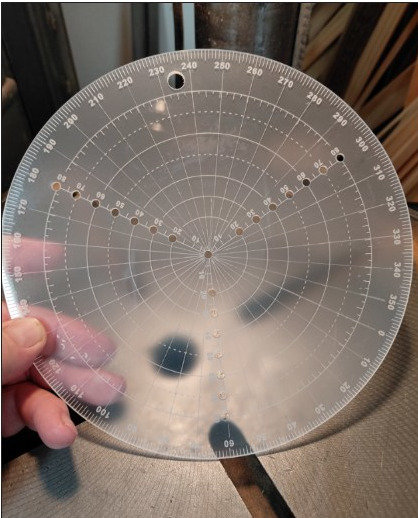
I’m now using a round center finder (CF) that is also marked in degrees. This allows me to see the arc that will be burned. Place the CF on the project and decide on which circle (distance from center) you want your text. Using your text width, measure straight across, from one degree line to another until you find where the text will fit between the lines. Subtract one from the other, this is the “Curve” setting.
30 degrees of the circle is a “curve” setting of “30′. This is easy to see on the CF or protractor. Once you have set the curve, you will need to reset the width of the burn.
 Go to the width setting (on the same row of option with fonts, curve, etc.) Click on width and set it to the width you want it to burn.
The software places the text at equal distances around the curve. This will not look correct around a large curve. You can add spaces before and after the text to compensate for this.
I bought a “ProCraft Compass Tool” from TEMU for $3.32 with free shipping. I scribed a solid line every 10 degrees, just to be able to see it better.
I am using my drill press to hold the unit. It makes it easier to set up the 200mm focal point. 200mm is not critical, the unit has a large depth of field (the area, + or- of the 200mm where it is still in focus. Getting further away from 200mm just makes it slightly out of focus till it won’t burn or look good.
I took a picture of a friends logo and was able to easily use this .jpg file to create and burn his logo and some text on a project he had. The software created it on two different layers that you could separately manipulate and move around, Then burn separately or together as one burn.
It will accept nearly any type of file that you can put on your phone, even pdf’s.
I am definitely not an expert on the LP and may never use more features, but I thought I would share the three features that have made the investment worthwhile for me.