My process for attaching carved handles to vessels.
 Once the vessel is turned and the handle is carved to fit the vessel, I draw a line along the longitudinal axis of the vessel. Next, you hold the handle(s) on center of the line where you want them to be attached. From here, mark on the line where to drill and place the brad pin & on the mating handle. For the pins, I have had great success using 18 gauge wire brad pins.
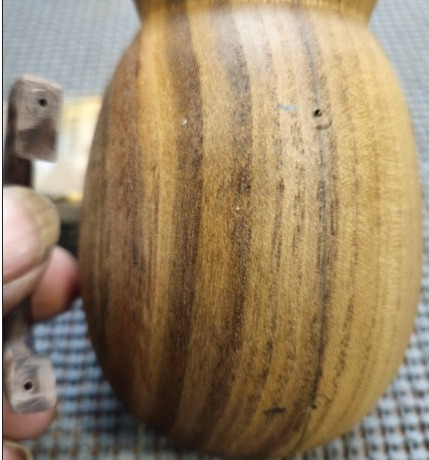
After marking the handle locations, chuck a brad pin into the drill, and drill the matching hole(s) into the vessel & the corresponding handle. Be sure to drill as horizontal as possible for a proper mating surface once attached. On the vessel, drill 1/2 the wall thickness for the brad pin depth and approximately the same for the handle side.
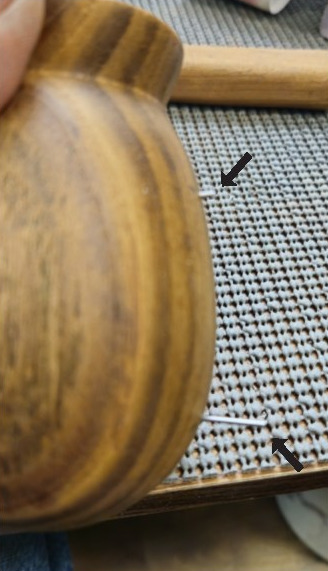
 Now, tap the brad pin into the vessel hole made earlier, and then trim the pin to the length needed for the handle. Basic wire nips/side cutters work well for this.
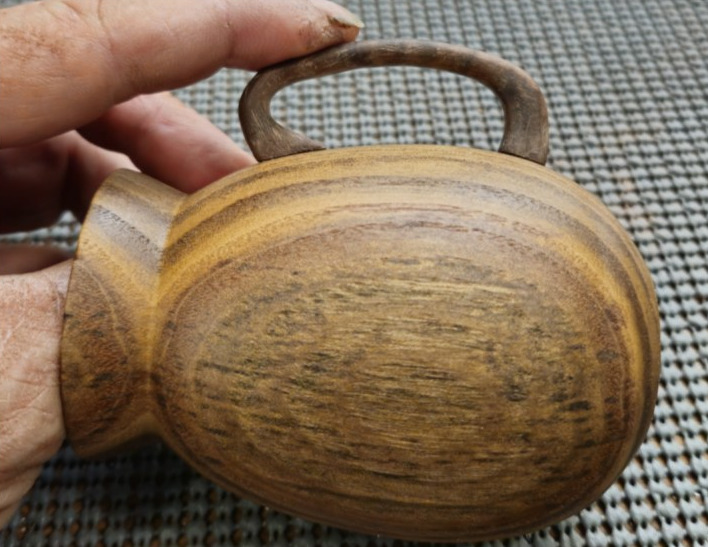
Time for the test fit: make sure the handles mate flush with the vessel surface. If they don’t identify the issue and correct. Possible problems are the pins are too long, and need clipping or the mating handle profile needs additional profiling to match the vessel contour.
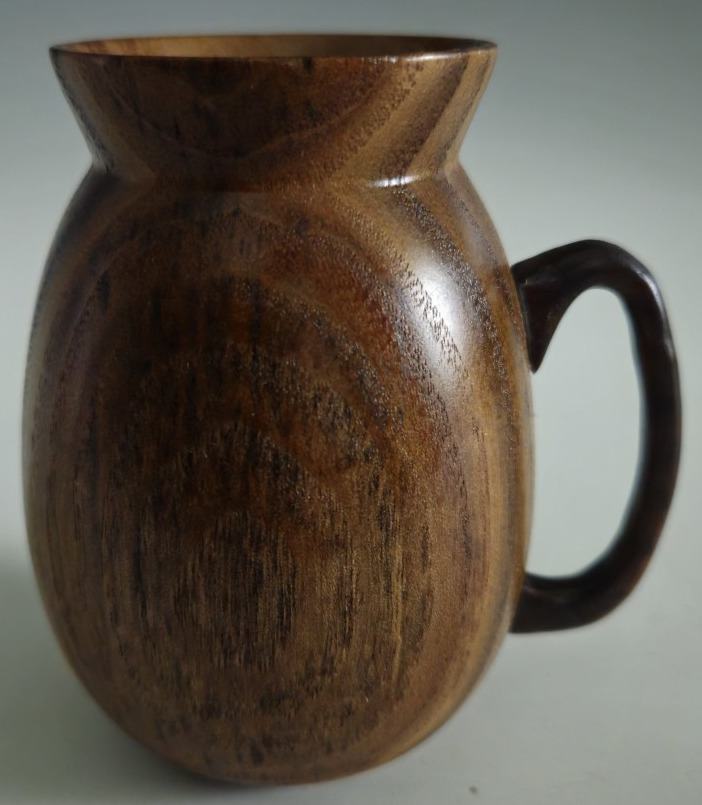
 Once you are satisfied with the handle location and the fit; mix up some epoxy (your choice, but don’t use a slow-set) and place a small dab on the handle side, and attach them onto the vessel. Be sure to be attentive to using just a dab or you will be creating excessive squeeze-out to clean up.
This is the easiest way I have found to attach handles without having to sit and hold them until the glue sets up.